How To Stream PC Games on Twitch
So you have spent hours watching your favourite streamers on Twitch and you are ready to take the plunge and start streaming yourself. There are probably loads of questions you are asking:
- What software do you need?
- How to you set it up?
- How do you get your games on Twitch?
If it all seems to daunting then don't worry, its actually super easy. Let us show you how.
Create An Account
The first thing you need to start streaming on Twitch is a Twitch account. You may not already have an account as you can watch streams on Twitch for free without one. You can set one up by clicking the Sign up link at the top right of the home page.
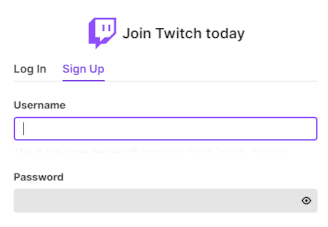
When signing up you can chose your username, which will be the name that you are known by on Twitch. This can be changed later so put as much or as little effort into choosing this as you are comfortable with. The capitalisation of this name can also be changed in the admin panel after the account has been created.
Streaming Software
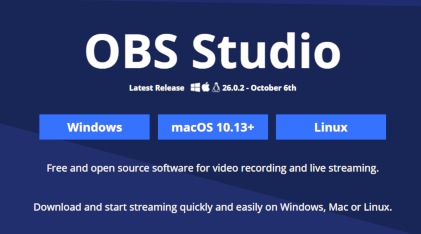
To broadcast your games to Twitch you will need to some streaming software. There are a number of options to choose from here but a popular and free option is OBS Studio. Installing OBS Studio is a easy and painless process, just download the installer for your operating system (OBS Studio supports Windows, Mac and Linux) from the OBS Studio website and run it, accepting the default options is just fine.
Once installed follow the auto configuration wizard to set OBS Studio up for whatever you need. During this wizard you will be prompted to connect OBS Studio to your Twitch account. After the account has been connected OBS Studio will run some analysis on your hardware and connection and will configure itself to best support your setup. When the wizard has completed you are ready to start your streaming career on Twitch! Well, almost...
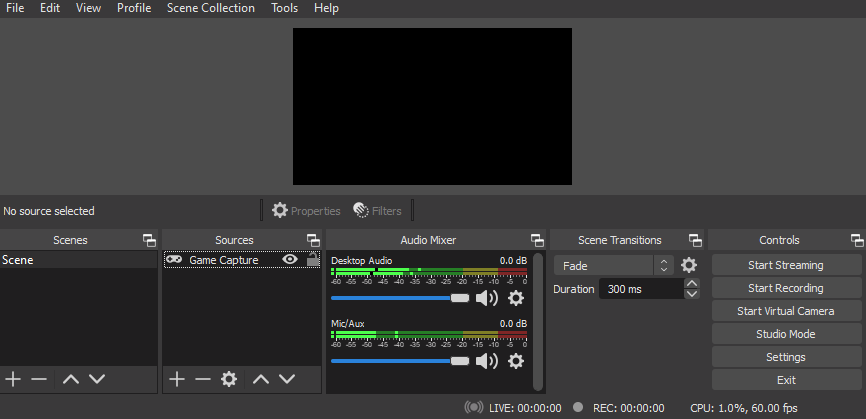
Setting up Game Source in OBS Studio
Once you have OBS Studio all set up and configured to broadcast to Twitch you need to do one last thing, which is to connect OBS Studio to record your game. The easiest way to do this is to add a Game Capture source. This is done by clicking the + icon in the bottom of the Sources panel and selecting Game Capture. Here you will Create a new Game Capture source by clicking OK twice. This will should now capture any games and allow OBS Studio to record and broadcast it.
Setting up Microphone and Webcam in OBS Studio
You can just broadcast yourself playing games but to fully engage with the community it is better to set up a microphone and webcam. By default OBS Studio will connect to the default audio recording device, i.e. your microphone, and set this up as the Mic/Aux in the Audio Mixer panel. If you need to change this to another microphone then click the Gear icon in the Mic/Aux section and then choose Properties. From here you can select the correct input device.
To add a webcam click the + icon in the bottom of the Sources panel, chose Video Capture Device and click OK. The next screen will allow you to chose the webcam you wish to use. Once you have added the capture device you may need to resize and reposition the source within the scene.
Start Streaming
So now you have OBS Studio all set up to broadcast your first stream to Twitch so just click on the Start Streaming button and get out there!